Small: small problems can sometimes cause big troubles and though you can always find help, it’s better to be self- sufficient so that you don’t have to depend on others and quickly solve your problem as soon as it comes, without having to wait for the help to arrive and rescue you.
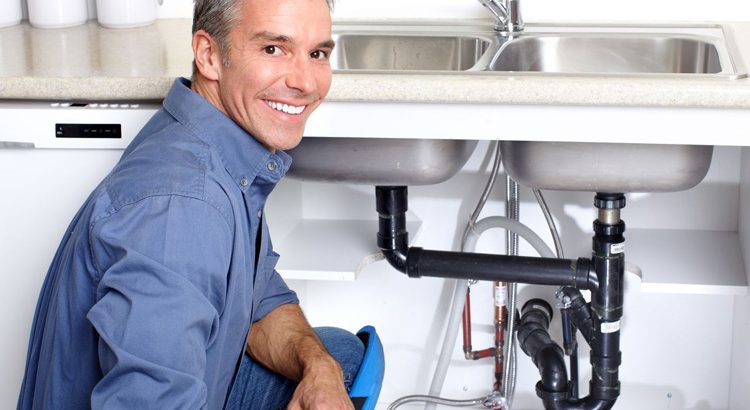
One such problem is the leaking taps. Water is very precious for life and we can not afford to get it wasted just because are taps are leaking. So, how to fix the leakage in taps? Sure there are many plumbers in Pensacola who would ready to help you out but sticking to the principle of Self- Sufficiency, let’s learn how to fix leakage in taps, ourselves.
Before beginning, make sure that you have the following equipment with you:
- 12 mm washers
- O- ring
- Jumper valve
- Reseating kit
- Wrench/ Spanner
- Multi- grips
- Tap lubricant
- Cloth
Now that you have all the material ready, prepare yourself to repair the leaking taps of your house. First and foremost, turn off the main water supply of your house. After cutting of the water supply, turn on the tap to remove any water left inside.
After making these preparations, you are now completely ready to finally make the repairs in the leaking taps. Following are the steps that you would need to follow:
In the first step, take off the tap’s cover using a spanner in order to remove the handle afterwards.Now, undo the screw and you will be able to remove the handle. In case of a metal cover, unscrew it using a wrench or tap spanner.
Next, remove the headgear completely by unscrewing the tap bonnet. After you have successfully completed this step, a large body washer, o- ring and jumper valve will come into your vision.
Replace all these three items with the new ones. Apply lubricant on the spindle and valve so that they function smoothly. Now refit the bonnet and the spindle but do not tighten the nuts too much.
After you are done, put the tap back together. Then turn the tap off and turn on the main water supply to check and ensure if everything has been done properly and there are no more leakages now.
In most of the cases, the taps won’t be leaking any more, not even the slightest. For those who have achieved this: Good job! And for those who haven’t, you don’t need to be disheartened. You will only have to perform one step extra, that is Re- Seating.
For this, use the re- seating kit to resurface the tap’s body so that washer experiences the tightest seal.
What the tap has stopped leaking? I told you. Congratulations! Now,a last tip for the users of chrome tapware, do place a cloth over the cover so that you don’t end up getting scratched.
This was simple. Wasn’t it? Next time your taps leak, you would know exactly what to do without fretting over the problem. Good luck!